Augmentation Guide
This tutorial introduces augmentations and data randomization.
A common problem of Deep Neural Network is to overfit, i.e. the network fits well to the exact training data but does not generalize for other data. There are multiple approaches on how to deal with this, known as regularization. One method is to randomly transform the training data in each iteration. This enhances the overall dataset, as augmented images are kind of unseen and force the network to generalize for better adaptation.
Crumpets offers a fast, efficient and reliable way of doing this.
1. Usage
As stated, using augmentations with crumpets is easy, as it is integrated in the TurboDataLoader. More precise: in the workers. This guide will not explain how to use the data loader in general. Have a look at the Quick Start Guide.
All current augmentations work for images, thus workers handling images
need to be used. Crumpets offers an ImageWorker.
This worker and all its descendants can be used to work with images.
Random numbers generated to augment images are controlled by
RNG objects given as parameter ‘image_rng’.
Later the worker will, per iteration and image of the data loader,
pick random values in each range.
And lastly apply augmentations according to the chosen values
either using cpu or gpu, depending on your configuration.
In other words, all you need to do for using augmentations in crumpets, is defining a range for each operation and pass those to the worker template you need to define for the TurboDataLoader.
For instance, to create a custom RNG object:
from crumpets.presets import MixtureRNG
rng = MixtureRNG(
    blur_range=(0.002, 0.0025),
    brightness_range=(-0.4, 0.4),
    contrast_range=(-0.5, 0.5),
    noise_range=(0.01, 1.0),
    aspect_sigma=2/48.0,
    shift_range=(-1, 1),
    scale_range=(0.5, 1.5),
    vmirror=0.5,
    rotation_sigma=18,
    color_range=(-0.25, 0.25),
)
That object can then be given to the worker:
worker_template = ClassificationWorker(
    (sample_size, np.uint8),
    ((1, ), np.int),
    image_rng=rng
)
Note that by default no augmentation is applied. :module:`~crumpets.presets` provides presets like AUGMENTATION_TRAIN that contain sensible values for image augmentation during training.
2. List of Available Augmentations
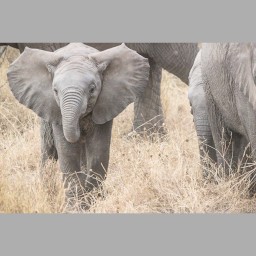
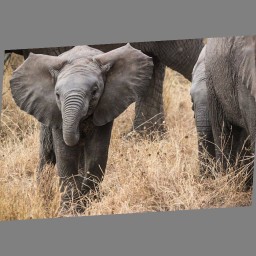
To get an intuition for the impact of different augmentations, we will pick one example image and compare it’s unaugmented version to the augmented ones.
And, as promised, sweet baby elephants will serve as an example:
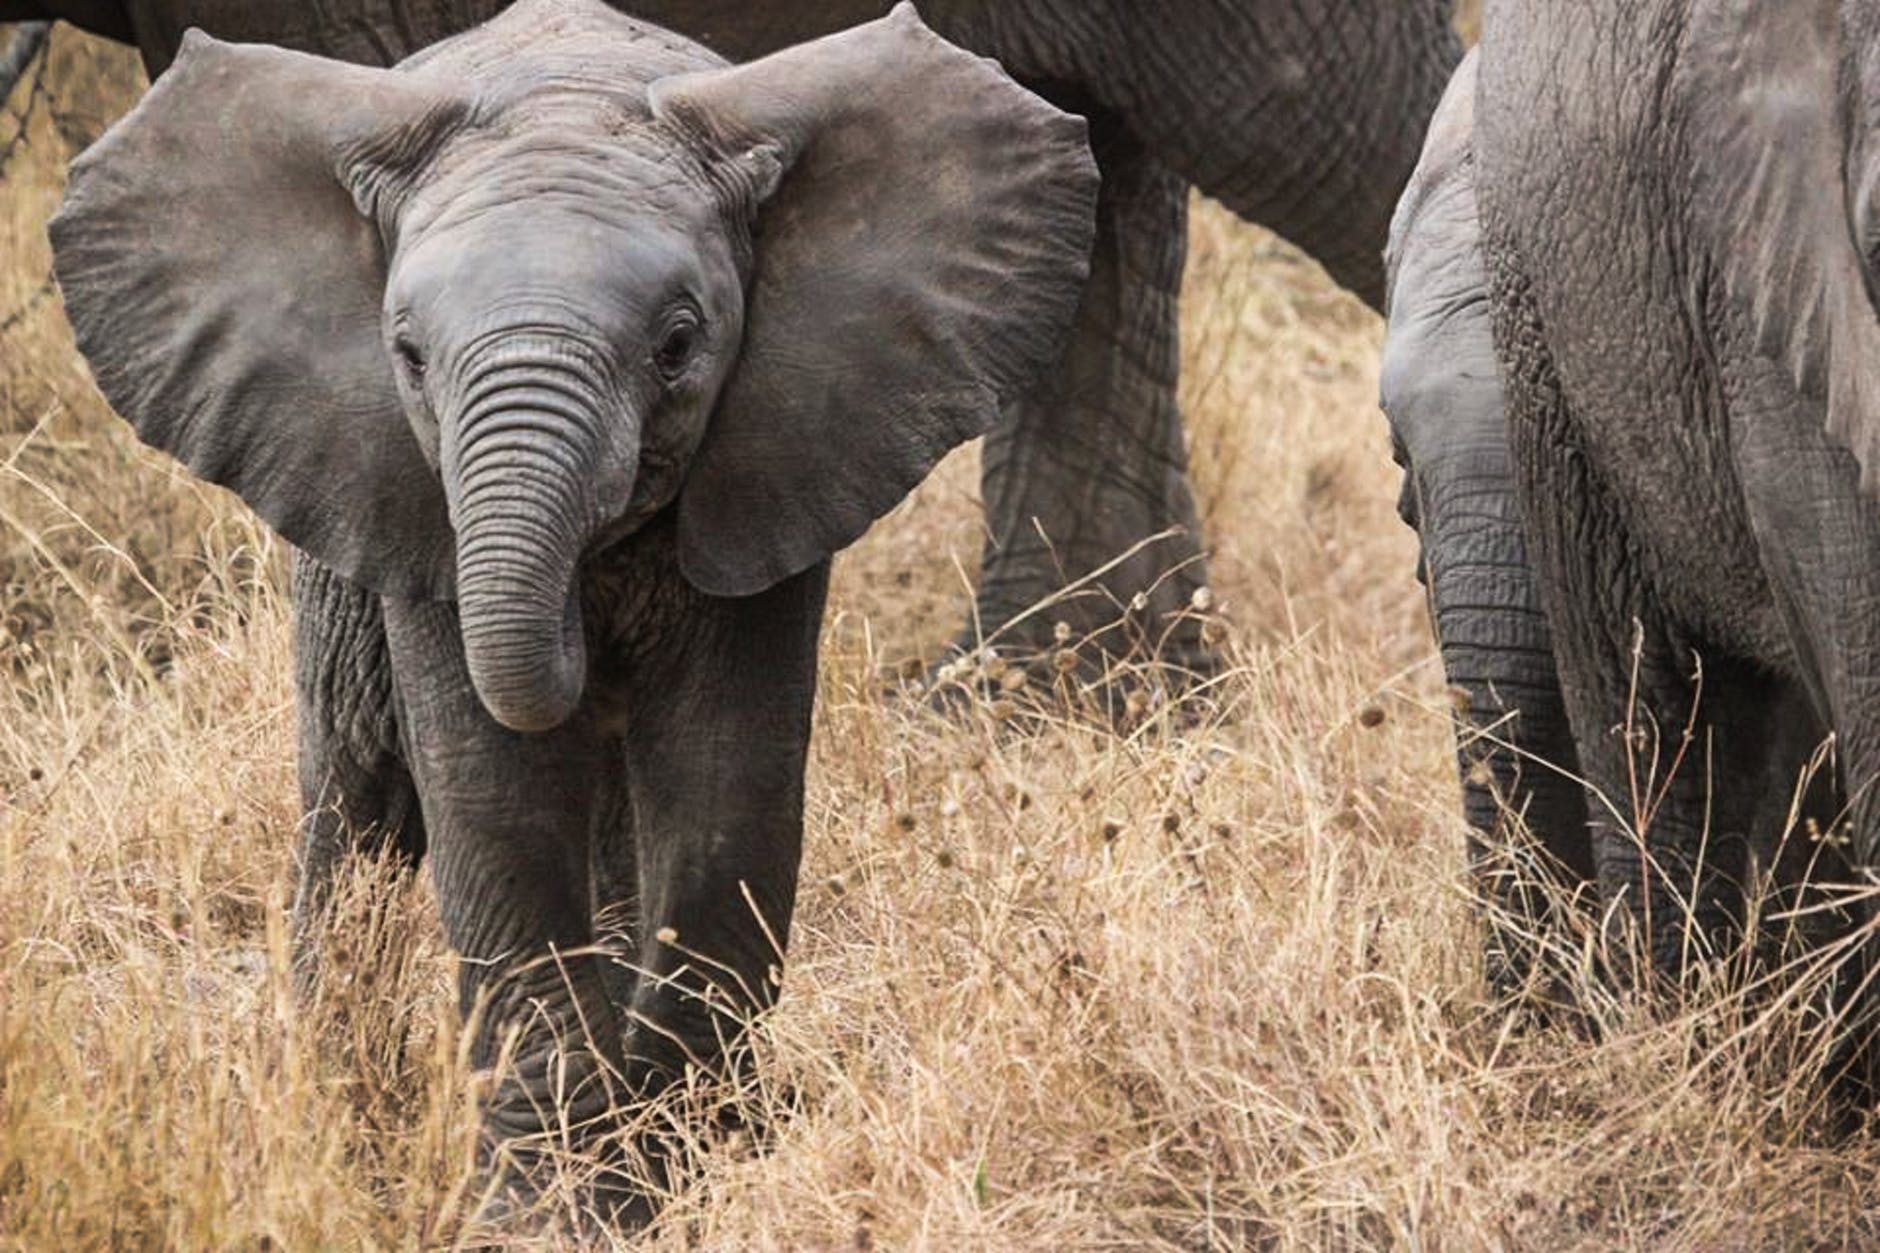
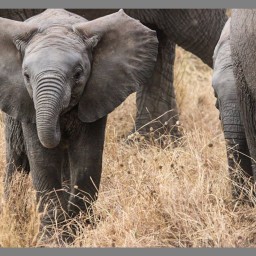
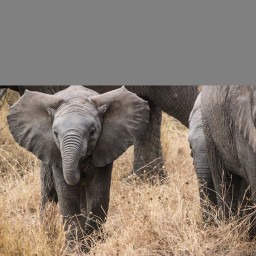
No Augmentation
Let’s have a look at what a TurboDataLoader returns without using augmentations, but with a smaller target size and scaling using its longest edge:
worker_template = ClassificationWorker(
    ((3, 256, 256), np.uint8, (128, 128, 128)),
    ((1, ), np.int),
    image_params=dict(scale_mode='longest'),
)
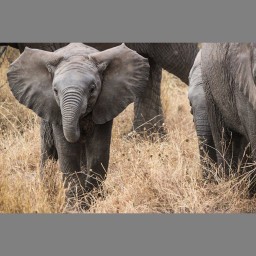
The image of course is smaller. But also some grey background appeared. This is due to the fact that neural networks usually work with quadratic sample sizes, thus if the original image is scaled down matching it’s longest edge to the target size, some pixels are left undefined. This is filled up with custom background, default is black.
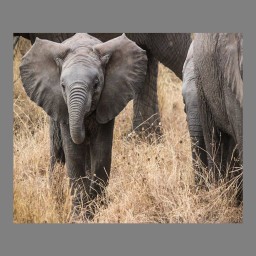
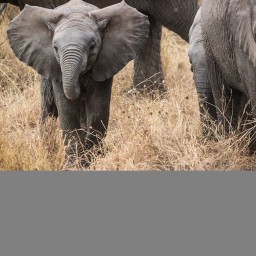
Aspect
For applying only one specific augmentation with an exact intensity, we have to use the no_augmentation() dictionary as a starting point. We slightly modify it s.t. just the desired range is set. In this case we set aspect ratio to 0.3 sigma.
from crumpets.presets import MixtureRNG
rng = MixtureRNG(prob=1.0, aspect_sigma=0.3)
worker_template = ClassificationWorker(
    ((3, 256, 256), np.uint8, (128, 128, 128)),
    image_params=dict(scale_mode='longest'),
    image_rng=rng
)
Blur
To keep it simple, from now on only the update dictionary is presented:
>>> prob=1.0, blur_range=(1.50/448, 1.50/448)

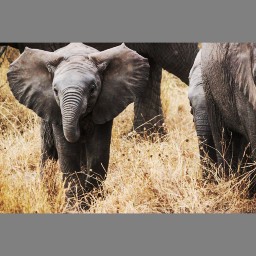
Brightness
>>> prob=1.0, brightness_range=(0.45, 0.45)
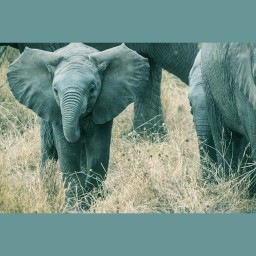
Color
>>> prob=1.0, color_range=(-0.3, 0.3)
Contrast
>>> prob=1.0, contrast_range=(0.35, 0.35)
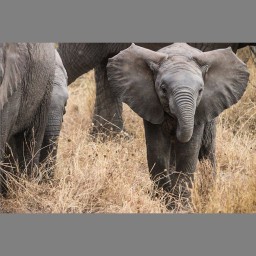
Horizontal Mirror
>>> prob=1.0, hmirror=1
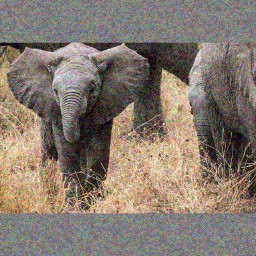
Noise
>>> prob=1.0, noise_range=(0.2, 0.2)
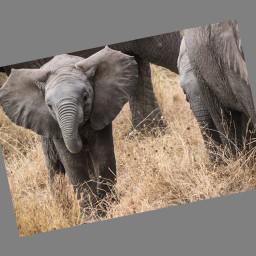
Rotation
>>> prob=1.0, rotation_sigma=24
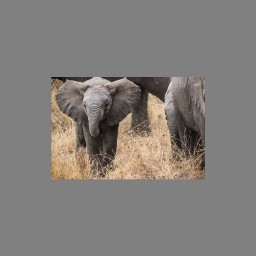
Scale
Zoom in:
>>> prob=1.0, scale_range=(1.4, 1.4)
Zoom out:
>>> prob=1.0, scale_range=(0.6, 0.6)
Shear
>>> prob=1.0, shear_range=(0.06, 0.06)
Shift
Shift up:
>>> prob=1.0, shift_range=(1, 1)
Shift down:
>>> prob=1.0, shift_range=(-1, -1)
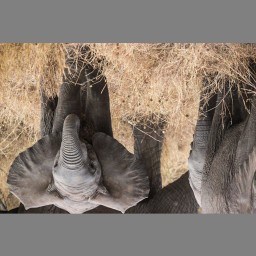
Vertical Mirror
>>> prob=1.0, vmirror=1